Monday, May 16, 2011

Links on Monday

Gotta take a post to share some digital photography tutorial/learning links...


"A Learning Community for Photographers"

Really Basic

Good site for the basics...

Boot camp for flash photography

Some good stuff here

Pic of the Day:  is from Awkward Family Photos

don't blame me when you wet your pants due to uncontrolled laughter on this site

Friday, May 13, 2011

Posting Problems

It appears that Google's Blog has been going through some surgery and some things are missing... so the post today will be short and hopefully sweet.

I am re-posting one from Joe McNally on how to hold the camera.  Simple yet effective.
Mind you, this works well if you are left eyed.  Most people (myself included) probably use their right eye predominantly... but I gave it whirl at 1/5th of a second and was impressed with the steady result.

Here is the video that goes along with Joe's blog...

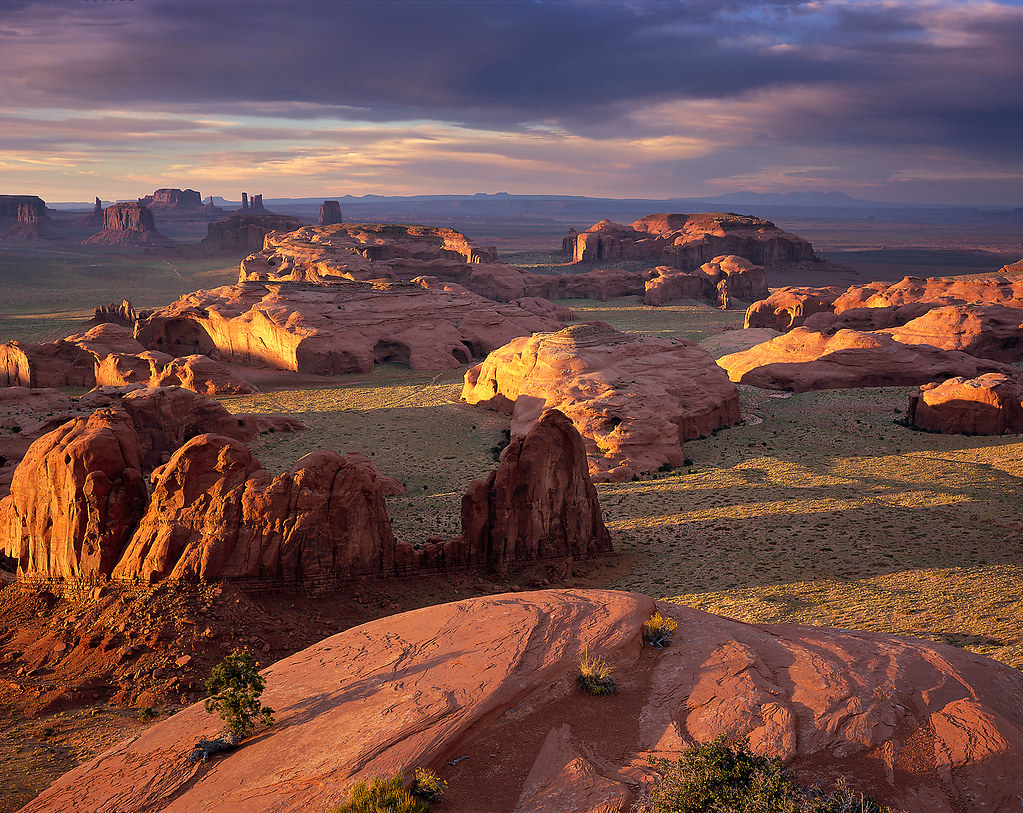
Pic of the Day - this guy shoots 4x5 film... still nothing like it!

Diagnosing a Dirty Sensor

Symptoms: My pictures have a dark spot on them. It is in the same place on each photo. The only time it changes appearances is when I shoot at F22 the spot is more crisp and defined. Whereas when I shoot at F4 the spot is out of focus.

Objective: DSLR camera is otherwise functioning correctly. Camera was taken in the desert for a weekend trip and it was a bit windy. Camera lens was changed while outdoors. Camera is 1.5 years old and has not had the sensor cleaned.

Assessment: The sensor has dust on it due to normal wear/tear. Conditions of changing the lens outdoors in a windy desert likely the time of onset, due to opening up the inner workings of the camera to outside dust particles.

Plan: First, try the self cleaning menu option on the camera if it has one.  This can work if the dust is lightly attached.  But more often with the visible dust particles, it will require manual cleaning.  Refer to your owners manual for opening the mirror and/or manually self cleaning.  If you are a DIYer: watch a couple of youtube videos, decide what method/tools you want to try, and clean the sensor at home. Or if you are more comfortable with sending it in, take it to a reliable camera store and who offers sensor cleaning.  Whatever you select, remember that this sensor is your permanent 'film'.  You only get one per camera.

Personally, I have cleaned my own sensors and for other people at times.  I have taken a rubber spatula from the kitchen (don't tell Amber) and cut it to the width of the sensor (you can find that here).  I have used rubbing alcohol but would probably get slightly better results if I used some Methanol (harder to find).
I ensure that I use a new cleaning cloth each time I clean the sensor.  Here are a couple of videos that I have found helpful.


Wednesday, May 11, 2011

How did they get that shot? ... show me the data

If you're like me, you've probably seen a shot you really like and wondered, "how did they get that shot?"  Well, besides the setting and composition, there are a few things that you can look at to give you some clues... at least on the technical aspect of the image.

Digital cameras store a lot of information about the technical specs of the picture called EXIF Data.  The camera stores info such as times/dates/fstop/lens/shutter speed/ISO/mode/shutter count/  and many other settings.  Programs like Picasa Albums and Flickr make this EXIF Data available to the viewer (unless the user somehow disables or doesn't upload it intentionally).  Let's try it.  I have this flickr image from my favorites
In the Actions drop down, you can go to View Exif Info

In this truncated view, we can see that it was taken at ISO 50, 116mm, f18 at 0.6 of a second with a Canon DSLR.  It was shot in manual exposure (out of view on this screenshot) and the on-camera flash did not fire.

From Google's Picasa Albums, we see this from a different image:
This shot was take with Nikon D70s, at ISO 400 etc etc

There are a few free programs out there that allow you to look at the EXIF data of your own images.  You may already have a program that allows you to view that information.

Chase Jarvis sometimes does a little image breakdown where he shows an image and people guess how it was taken.  Some of his lighting techniques go right over my head, but there's some good stuff in there.

ONE FINAL TIDBIT:
Some people include their lighting notes in the caption of their images on Flickr.  They generally begin with the word "Strobist" and as in this example.


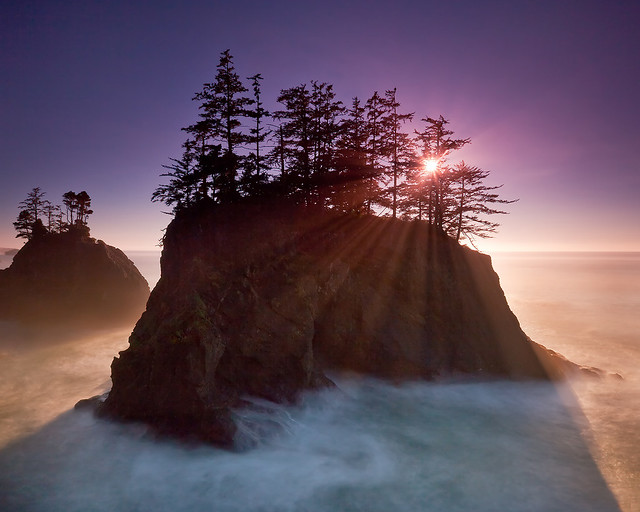
Pic of the Day: Oregon coast shot with a Graduated Neutral Density filter.


Tuesday, May 10, 2011

Can you take some pictures of.... ?

In my day job, I get a lot of questions...  I have learned that in order to give the right answer, I often need to ask various other questions in order to clarify the question.

Today's blog will hopefully help you ask a few questions so that you are prepared when someone asks you to shoot some pictures of an event for them.
What do you need to know before you can accept the assignment?  whether it is paid or pro bono.   

I've put together some of the questions I like to have answered prior to 'game day', or even before accepting the challenge of a shoot.

1. What are the clients' expectations? - this one can be a little nebulous... people may have their expectations set in stone; or more often, they just want something aesthetic and memorable.
First, it helps to know where the images will be used... are they only going to be posted online or are they going to be enlarged for the living room wall?
If you are charging for your service, make sure the expectations are set out fairly specifically.  I have a neighbor who was doing a family shoot for a large extended family.  She was getting paid a nominal amount.  She ended up spending hours and hours and days and days on the phone with the mother and then in Photoshop trying to please the client; swapping heads, whitening teeth, even taking away double chins.
Ideally, the client should come to you expecting you to do your best and maintain the integrity you have shown in your portfolio.  They should not expect you to shoot like so and so, or worse, make me look like so and so...  (having said that, if you're one who offers alteration services, knock yourself out, and have a good time with it - just remember to let the client know up front their will be an hourly charge for additional alterations)

2.  How many people in the group? (we are assuming this will be some sort of portraiture work).   This is really important to know.  Larger groups take much more coordination... of people, props, lighting, expectations, etc.  It is not always easy to get the entire group in focus if your lighting is low... remember that the more light you let in with the aperture (fstop), the shorter your depth of focus (and the larger the group, the more focal depth you will need).  Don't forget to keep your focal length no less than 35mm, because you can really start to stretch the people at the ends.
Again, feel free to decline if the group size or conditions are greater than your comfort level.  It is better to have people find the right person for the job than to do them a favor and they end up having to redo the whole event because they weren't satisfied with the results.  -- I learned the hard way one time.  I was shooting a family group and I couldn't get far enough away at the location they had selected. I pushed my focal length to 24mm.  When I went to process these pictures, I was shocked at how much the people on the ends were stretched... not very appealing.  Luckily Photoshop and Lightroom have a way to correct, but it's never the same... would I want to be the person on the end who was stretched and then corrected?  nope.

3. Indoor/Outdoor  - lighting, space to work in, backdrop.  Most cameras allow us to shoot well in daylight.  But if you don't feel comfortable in low-light settings, don't accept the offer.  Even shooting a reception in a gymnasium can be difficult (they are often lit by fluorescent lights mixed with sky lights, and the wood floors give a golden yellow reflection).  Tungsten lights (traditional bulbs) give off a bluish hue while fluorescent lighting create green in a photo.  Also ask yourself how much room am I going to have to work with?  What lenses will I need?  And do I have the right lens/lenses for the job.

4.  Do I need an assistant?  When I have shot weddings, it has been so helpful to have an assistant there (AKA my wife).  She can keep the flow to our session, notice clothing out of place, understand some of the expectations, and ensure that the party feels that they are getting the interaction they need to feel comfortable in the pictures.  Do I need my assistant to hold a reflector, a diffuser, a flash, a lens or camera, or just hold up my spirits when it is a long day?  
This last weekend I had a helper for the prom shoot.  He was invaluable.  We knew we would be shooting mainly in the shade.  I like to either use an off camera flash or a reflector when I shoot in the shade so that the subjects pop and I get the correct skin tones.  So my assistant was there to make sure the flash was firing, it was the right distance to the subjects, and it didn't fall over in the wind and end up in the rubbish bin.  Because I had an assistant, we were able to shoot with a flash (speed light); thus we were able to use a faster shutter speed and get this shot:


5.  Finally, and this is after you've accepted the job and are at the shoot: Save time for the individual or group to give you some input or make a suggestion.  Sometimes they know what pose they want to try.  This lends credibility to you as a photographer and it gives the client the satisfaction that you really wanted to give them a product they were pleased with and personalize their session. 
I was shooting some families I am related to and I asked a set of parents if they wanted any individual shots.  They casually asked for the kids to be together in one.  The kids were very excited and glad to have their own time in front of the lens.  The kids grouped up and wham bam.


Pic of the Day:  There is a place for supersaturated photos.  It's in Havasu Indian Reservation

Monday, May 9, 2011

Lovin' Lightroom

I have really fallen in love with Lightroom 3. I had previously used Photoshop Bridge. With Bridge, I would apply some rudimentary settings.  I would then take my images to Photoshop and apply actions (these are meant to be handled by Bridge, but I find that system clunky at best). The organization Bridge applied was nice and it allowed me to non-destructively make changes...
Now, with Lightroom, it truly has taken my processing to a whole new level. I still get the non-destructive editing... but now I have so much more control over my images... from noise to components of tonality, to special looks.
Besides having much more control over the organization, virtual copies, and snapshots of my processed images, the Presets have given me great control and creativity over my work.
I began by downloading a few presets. I studied what had been done in those and then tweaked them to make my own. The next step was to create presets from scratch.
It's kind of like going to a restaurant, finding something that really sparks your fancy, and then coming back home and trying to re-create it. I feel like I have the tools to do so with Lightroom. This is beginning to sound like an ad. But being able to re-create a look is really important to me, because it gives me the confidence to select a setting and take control of it and give it the feel that I want. In addition, it gives me the flexibility to offer my interpretation of the setting. It's like reading Jane Eyre and having my vocabulary soar to new heights... I just can't help but be inspired by the quality works of others. Enough rambling...

I have alluded in the past to enjoying Cliff Mautner's work.
I have developed a few presets that help me get a similar feel to my photographs. I really like the low key look with the highlights bringing the viewers attention to just what I am trying to portray. It helps me communicate better through my images.

Here is an example... the first image is how it came straight from the camera:
The part I want the viewer to focus on is the expression with an emphasis on the eye.  They are over-exposed here.  Since I am shooting in RAW format, most of the detail is going to be retrievable.  
I made a setting that decreased the exposure by about 1.5 stops and separates out the tones a bit... bump up the lights, tone down the darks (basically creating contrast selectively, without doing much with the shadows or the highlights), and applied a vignette.
With one press of a button (applying my preset), I get this:

There are a few images where I would take them to photoshop or use the Adjustment Brush in Lightroom to do some selective lighting... but that seems to be the exception.

So, I really like Lightroom and the control it gives me over my images.

Pic of the Day:
This guy does some great work... He merges the real with the surreal with his photography and Photoshop in his work.

Saturday, May 7, 2011

Game Day

Today was busy... took my little point and shoot camera up to hike the Y in Provo with the Youth.  Then did spring cleaning... took a break to run through the sprinklers and have a picnic... finally ended up over at the Gardens to shoot part of a wedding, with a break in there to do a prom group.  Have to say... the prom group was a lot of fun (cute couples --- love working with the sweet sixteens)... got some good experience with the wedding shoot (thanks Suzie)... know what I would do differently next time... and hopefully I can share some of these.  For today's post, here is a slide show of the prom shots.  I shot in manual mode... Stopped down the exposure by 1 stop.  Shooting at f4.5 and 1/400.  It was in the shade, so I shot at ISO 200.  Had a SB800 flash on the camera set at 1/128 and it popped the off-camera SB600 flash which was set to Manual 1/4 power at 50mm.  I had an assistant (thanks Andy) holding the flash at about 3 meters from the subjects.


And just a handful from the wedding shoot...